Every wonder how to make butter from cream? You can skim off the heavy cream from raw milk to make raw-cultured butter. Cultured butter is easier to make and far better for you then regular butter. Read “Why Butter Is Better” written by Sally Fallon and Mary G. Enig, PhD to learn more.

Cream after it has cultured
To make cultured butter, we use a ladle and carefully skim off the heavy cream from our 1/2 gallon Ball containers of milk we are going to drink. Then we put it in a wide-mouth quart jar (with just enough room to allow for a small rise in volume as it cultures) and set it on our counter with the lid slightly ajar to let it breathe and allow culture to grow.
Usually within a day or two you can see that the cream has separated from the whey slightly and has become thicker. Now it’s time to make butter.

Cream has broken
Pour the entire contents of the jar in a mixer with the batter attachment or a food processor (for just a small amount you can also just shake it in the jar). With the mixer on low speed, periodically check the bowl for a break in the cream. Once it breaks it will slosh around and spill out of the mixer so keep a close eye on it. If your bowl is large enough, you can add 2 quarts of cream which translates to about a pound of butter. Be careful because too much cream will spill out the sides or top. Not much can be done except you’ll know better the next time to put less in.

After shaking a bit
If you want to shake the jar to make butter, just make sure the lid is on tight and keep shaking it about. You can also get someone to help you if your arms get tired. Sometimes it takes 2 minutes, sometimes 10 minutes. Just be patient and wait for the break. You’ll know when you have made butter. After the break, pour it into a bowl and continue with the following steps.
With a spatula start pushing together the small chucks of floating butter. It may seem impossible but give it a minute and you will see that the fat globules will come together. Keep doing this until it forms one big solid mass of butter.
 Hold the butter back and pour off the buttermilk, and reserve. I usually pour the buttermilk into a jar for drinking or for use in buttermilk recipes. Don’t worry about getting every last drop of buttermilk out of the butter just yet.
Take about 1/2 cup of cold water (I float some ice in mine first) and pour about 1/3 of it into the bowl with the butter. Now you will wash the butter. It sounds funny adding water into the butter but believe me, it works and it won’t disappear into the butter. Take your spatula and knead the butter with it, adding and squeezing out water. Push on it, flatten it, but mostly keep it in the same large mass. Pour off the water as it becomes milky and squeeze as much water out of the butter as you can. Then repeat the process up to two more times until the water at the end is mostly clear. Keep squeezing the water out until not a drop of it is left. Getting the water out will help keep the butter fresh.
 Now your butter is made. You can add a capsule of vitamin E by squeezing out the liquid into the butter and mixing it in. Vitamin E contains natural antioxidants and will extend the butter’s shelf life. I usually do this if I am going to freeze the butter for later use.
At this point, you can also add sea salt if you so desire, this will also help preserve it as well as enhance the flavor. Add a little at a time until you like the way it tastes. Usually a teaspoon is good for about a pound of butter.
Scoop it out of the bowl into a container for use. Sometimes I weigh mine out into pounds and freeze. It helps to know the weight when making recipes.

Butter and jar of buttermilk
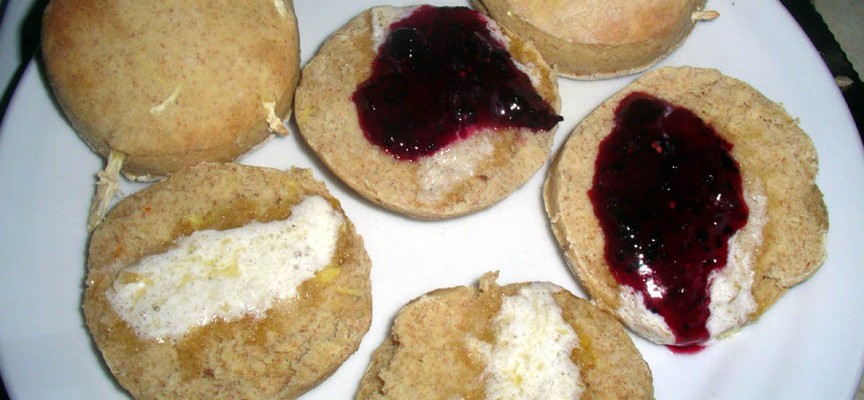
This butter can be used any way you use regular store-bought butter but it is especially good on a fresh piece of bread hot out of the oven. Why not make buttermilk biscuits and use your fresh buttermilk in the recipe. Yum!
If you have any questions or have something to add, we would love to hear it by posting a comment.
